
|
Mouse/Keyboard Key(s) |
Function |
|
Left -Click on a Node |
Selects a node |
|
Left-Click (hold) &
Drag |
Move single node to
another area |
|
Left-Click on single
side-pane image |
Enlarges image |
|
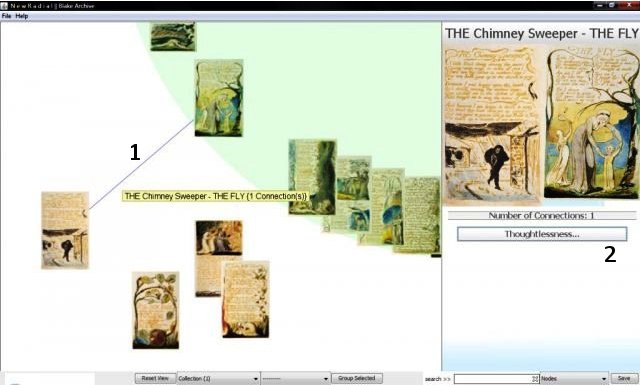
Right-Click on a Node |
Start/Complete a
connection between Nodes |
|
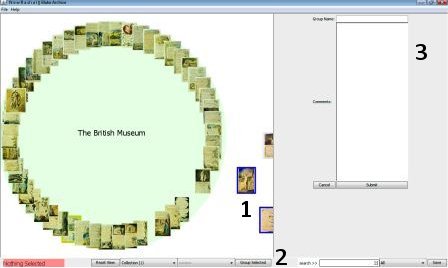
Left-Click & Drag |
Make a box for grouping |
|
Right-Click & Drag |
Panning |
|
Ctrl + Right-Click +
Drag |
Zoom (move mouse forward
to zoom in, and backwards to zoom out) |
|
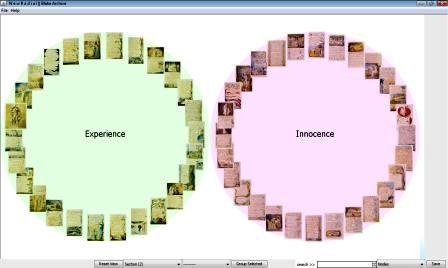
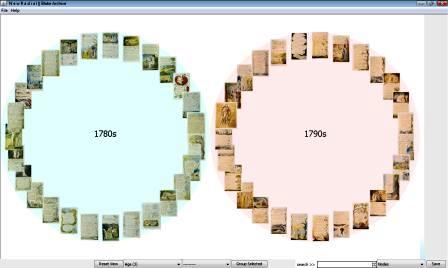
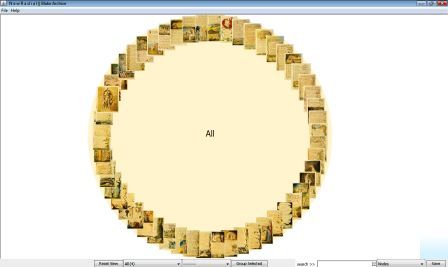
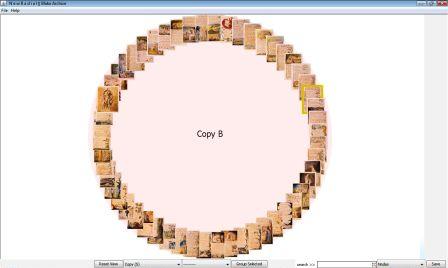
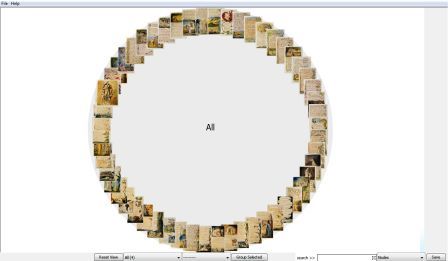
Number Keys 1-4 |
Select default
visualization categories |
|
Reset View button |
Adjusts the current
visualization to fit & fill any remaining blank space |

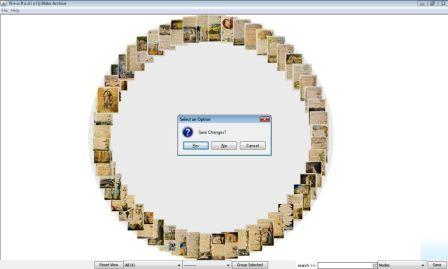
Q: What is the
difference between browsing and contributing?
A: Browsing does
not involve any contributions to the interface, whereas contributing means that
the user has made a connection or created a group etc. Any contributions will have a save option.
|
Term |
Definition |
|
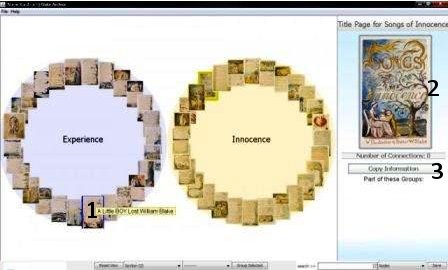
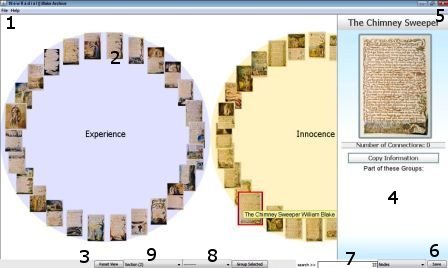
Node |
Pages of Blake’s Songs of Innocence and Experience,
containing images and text |
|
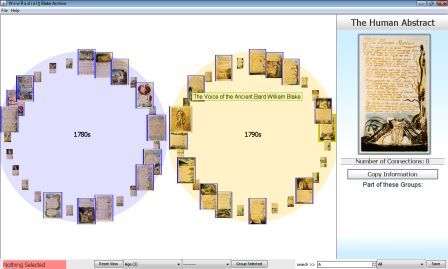
Side Pane |
Box on the right-hand
side of screen. Clicking on a Node brings a magnified view here, with a link
to Copy Information. |
|
Edge |
Lines surrounding each
Node |
|
Browse |
Explore NewRadial
without adding information or making connections |
|
Contribute |
Add information to the
NewRadial interface through saved connections and comments |
|
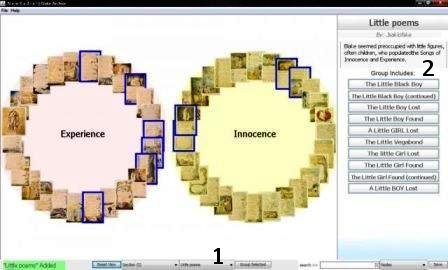
Connection |
Link between two or more
Nodes, created by the User |
|
Copy Information |
Link to the Blake
Archive website |
|
Data Set |
Determines the Data to
be used within the interface |
|
Mouse/Keyboard Key(s) |
Function |
|
Left -Click on a Node |
Selects a node |
|
Left-Click (hold) &
Drag |
Move single node to
another area |
|
Left-Click on single
side-pane image |
Enlarges image |
|
Right-Click on a Node |
Start/Complete a
connection between Nodes |
|
Left-Click & Drag |
Make a box for grouping |
|
Right-Click & Drag |
Panning |
|
Ctrl + Right-Click +
Drag |
Zoom (move mouse forward
to zoom in, and backwards to zoom out) |
|
Number Keys 1-4 |
Select default
visualization categories |
|
Reset View button |
Adjusts the current
visualization to fit & fill any remaining blank space |